|
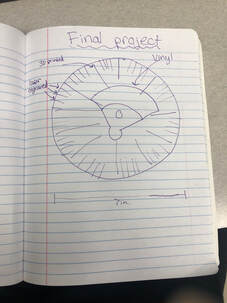
I came up with this idea because I wanted to use the Vinyl printer, 3D printer, and the laser. I was a little crunched on time so I used the easiest, and quickest machines. The router and mill take to long to set up so I did not use them. for the minute markers I laser engraved them so they did not stand out very much, but for the hour markers I 3D printed rectangular pieces of plastic that were larger than the minute markers so they stood out. Then, for the vinyl decal I made it a baseball diamond because baseball is my favorite sport.
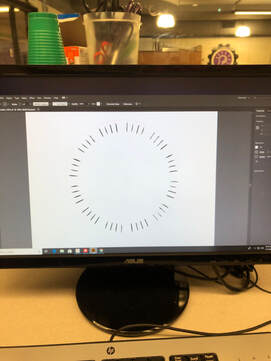
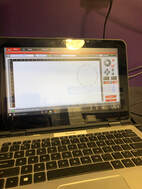
I started in Illustrator to create the base of my clock. This is where I made my minute marks on my clock. I also created the hole in the middle of my clock so the electronic piece could fit through. I decided to make to diameter of my clock 7 inches.
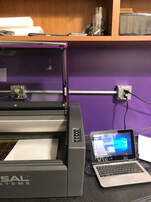
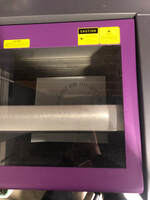
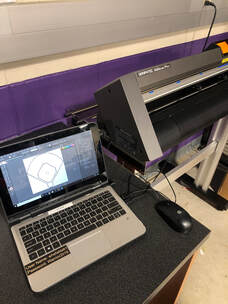
I went to the laser and opened my clock design file on Illustrator. After that I moved the clock design into the UCP software to set up my print settings. I decided to print my clock base of mat board. I decided on mat board because it engraves really well and It allowed the engraved part to be a different color than the rest of the clock base. I placed my material in the printer and adjusted the laser so it knew where to cut and engrave. I pressed "Run" and waited for it to finish.
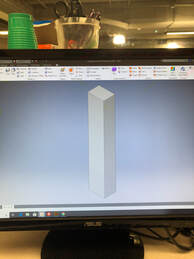
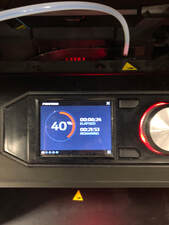
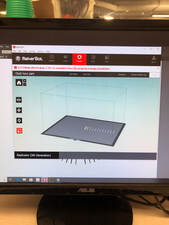
After I created the base of my clock I had to start making the details. On the 3D printer I created the hour markings for my clock. I was a little concerned if I designed the right sized pieces because if they were to big it would look clunky, but if they were to small they would look to similar to the minute markings. I started the design in Inventor. I played around with a few sized and finally found the right one. After I finished the design in Inventor I exported the file and put it in the Makerbot software. I only designed one of the markings when I needed 12 of them, so when I got in Makerbot I copy and pasted 12 pieces. I put the Makerbot file on my USB drive and went to the 3D printer. At the printer I chose the file and ran the print.
|
|
|
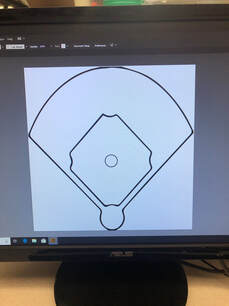
Lastly, I used the vinyl printer to create a design on my clock. I did a baseball diamond because it allowed me to make the pitchers mound the hole for the clock machine to fit through. I did this by finding a black and white image of a baseball diamond on google, then copying and pasting it in Illustrator. After resizing the image to make it the correct size I want I put it on a USB drive and took it to the vinyl printer. At the printer I decided to use a black decal. I put my USB in and imported the file. The vinyl printer is the easiest machine to use in the Innovation in my opinion. I clamped in my decal color and pressed "Start". When the baseball field finished cutting I took it out and squeegeed the decal onto the printer paper, then put it on my clock.
|
|
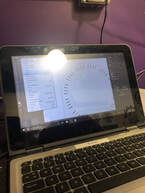
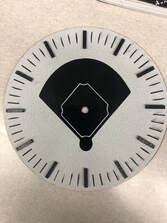
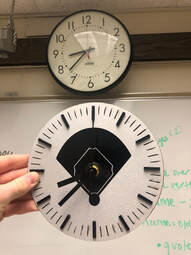
This is a picture with all my pieces on my clock besides the clock hands. I glued on the hour markings.
Overall, I learned that using multiple machines for one project makes the item look a lot better and allows more detail to be created and inspiration to take place. This project also taught me more about the different types of software and what the machines are capable of. This is a picture of my clock doing what it was intended to do.
|
